Uploading and Managing Images with Node.js, Multer, and Cloudinary: A Comprehensive Guide


Introduction
Images are a fundamental part of many modern web applications. However, handling image uploading and management can be a complex task for developers, especially when it comes to managing large volumes of images or implementing advanced image processing techniques. In this article, we'll explore how to use Node.js with Multer and Cloudinary to simplify the process of uploading, managing, and processing images in your web application. By the end of this article, you'll have a comprehensive understanding of how to integrate these powerful tools into your Node.js applications to manage your image assets with ease.
Setting up Node.js and Multer
Installing Node.js and NPM
Visit the official Node.js website at https://nodejs.org/en/ and click on the "Download" button.
Select the appropriate version of Node.js for your operating system. For example, if you're using Windows, choose the Windows Installer option.
Run the downloaded installer and follow the installation instructions.
Once the installation is complete, open your terminal or command prompt and type "node -v" to check that Node.js is installed correctly.
You should see the version number of Node.js displayed in the terminal or command prompt.
Setting up your Project
Create a folder
Create a js file inside the folder
Installing Multer, Express, Cloudinary using Npm
npm install multer express cloudinary
Integrating Cloudinary for Image Management
Create a Cloudinary account if you haven't done so already. You can do this by visiting the Cloudinary website at https://cloudinary.com/ and clicking on the "Sign up" button.
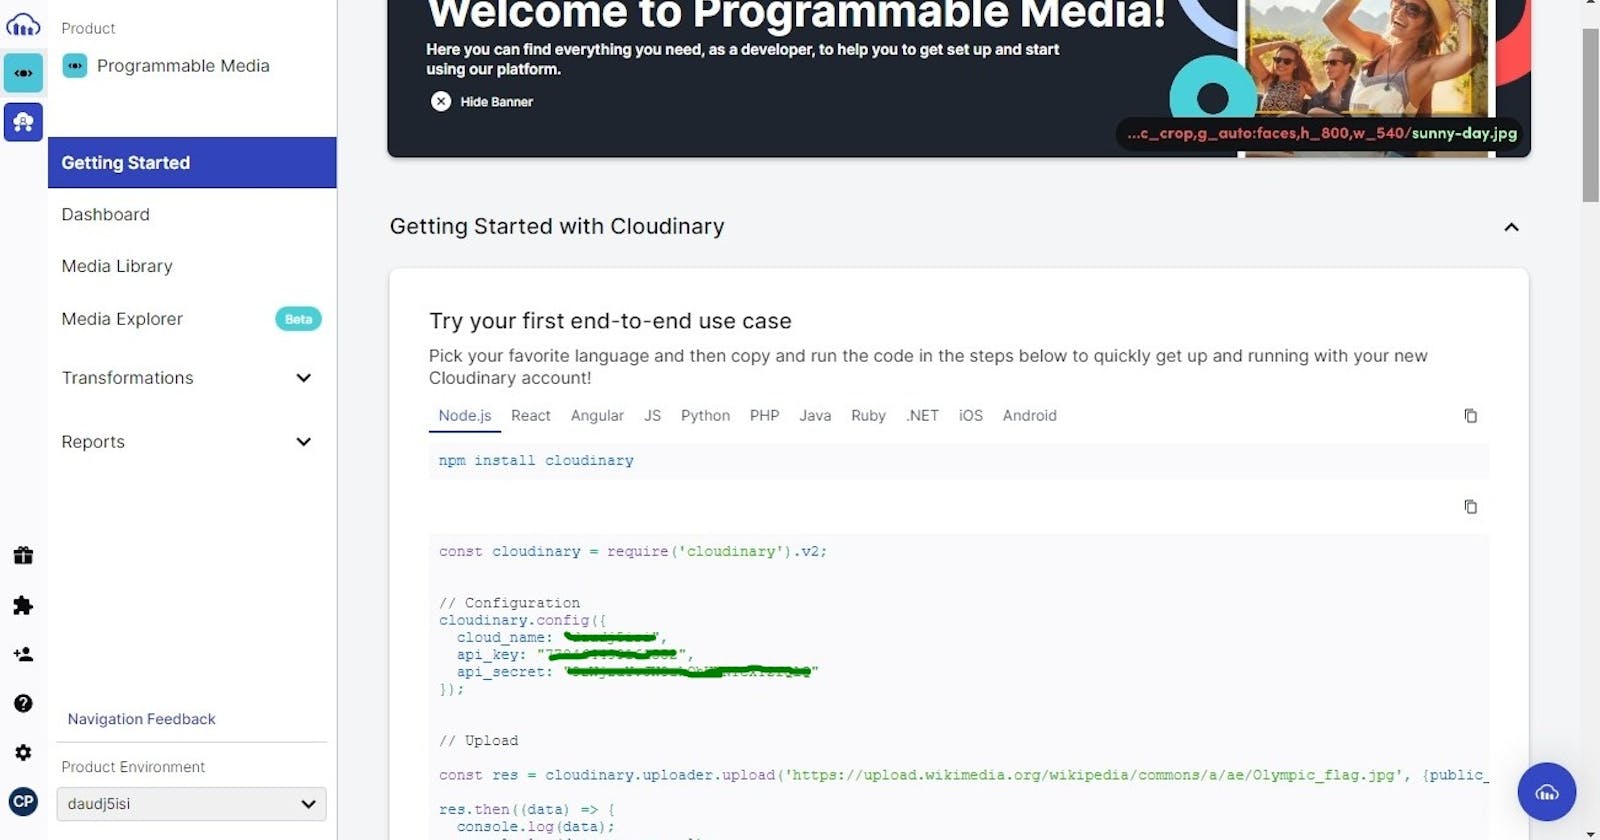
Once you've signed up, navigate to the Cloudinary dashboard and click on the "Account Details" tab. Here you'll find your cloud name, API key, and API secret. You'll need these credentials later to configure the Cloudinary SDK in your Node.js application.

Implementing Image Uploading and Management in a Node.js Application
- Copy this code to your nodejs into your js file
const cloudinary = require('cloudinary').v2;
const express = require('express')
const multer = require('multer')

const app = express();
app.use(express.json());
app.use(express.urlencoded({ extended: true }));

app.post('/upload', (req, res) => {
})

app.listen(3000, () => {
  console.log(`Listening on port 3000`);
});
- Let's configure multer storage
const cloudinary = require('cloudinary').v2;
const express = require('express');
const multer = require('multer');

cloudinary.config({
  cloud_name: 'YOUR_CLOUD_NAME',
  api_key: 'YOUR_API_KEY',
  api_secret: 'YOUR_API_SECRET'
});
const app = express();
app.use(express.json());
app.use(express.urlencoded({ extended: true }));

// Set the storage engine.
// The destination is the folder you want the uploaded file to be saved. You will have to create the destination folder yourself in the project folder.
const storage = multer.diskStorage({
  destination: './',
  filename: function(req, file, cb) {
    cb(null, file.originalname);
  }
});

app.post('/upload', (req, res) => {
})

app.listen(3000, () => {
  console.log(`Listening on port 3000`);
});
- // Set up multer instance
const cloudinary = require('cloudinary').v2;
const express = require('express');
const multer = require('multer');

cloudinary.config({
  cloud_name: 'YOUR_CLOUD_NAME',
  api_key: 'YOUR_API_KEY',
  api_secret: 'YOUR_API_SECRET'
});
const app = express();
app.use(express.json());
app.use(express.urlencoded({ extended: true }));

// Set the storage engine.
// The destination is the folder you want the uploaded file to be saved. You will have to create the destination folder yourself in the project folder.
const storage = multer.diskStorage({
  destination: './',
  filename: function(req, file, cb) {
    cb(null, file.originalname);
  }
});

// Set up multer instance.
// Limit is by default set to 1mb but using the limit property we can set it to 10MB
const upload = multer({ storage: storage, limits: { fileSize: 10 * 1024 * 1024 } });

app.post('/upload', async (req, res) => {
})

app.listen(3000, () => {
  console.log(`Listening on port 3000`);
});
- Handle form data from the frontEnd
...
app.post('/upload', (req, res) => {
// Use multer to handle file uploads
   upload.fields([
     { name: 'image', maxCount: 1 }
   ])(req, res, async (err) => {
       if (err) {
         return res.status(400).json({ error: err.message });
        }
      })
  // Retrieve uploaded files from request object
  const image = req.files.image[0];
  try{
    const response= await cloudinary.uploader.upload(image.path, {
      folder: 'images',
    })
    res.status(201).json({image: {public_id: response.public_id, url: response.secure_url}});
  }catch {
    res.status(500).json({ error: 'Internal Server Error' });
  }
  finally {
    fs.unlinkSync(image.path);
  }
})

app.listen(3000, () => {
  console.log(`Listening on port 3000`);
});